How I wrote a D&D adventure using Emacs
Sep 05, 2020
Emacs & org-mode is the definitive writing experience, it allowed me to organize my process, write, export to PDF and quickly make revisions. Yes, I am a developer, and yes Emacs is my IDE of choice, however, even if you are not, I think there’s a lot you can get out of using emacs, though it will take a large-ish amount of setup.
So After the click-batty title, did I really only used Emacs to write Arcane Moon? well kind of. I could have just used Emacs and org-mode, but I used some other tools to round up the process; since you are probably here for the tool list, here’s what you’ll need if you want to do the same:
If you want a barebones adventure output, you need:
If you want to have a cover:
- Adobe spark
- Preview or a similar PDF viewer with minimal editing functionality
If you want to add maps:
If you want to have spot art:
- A LaTeX editor
- And spot art assets
If you want to collaborate with a proof reader:
- Google docs
I’m not here to teach you how to install or use these tools, there’s plenty of tutorials on that, but I will tell you how I used them.
Barebones Adventure Output
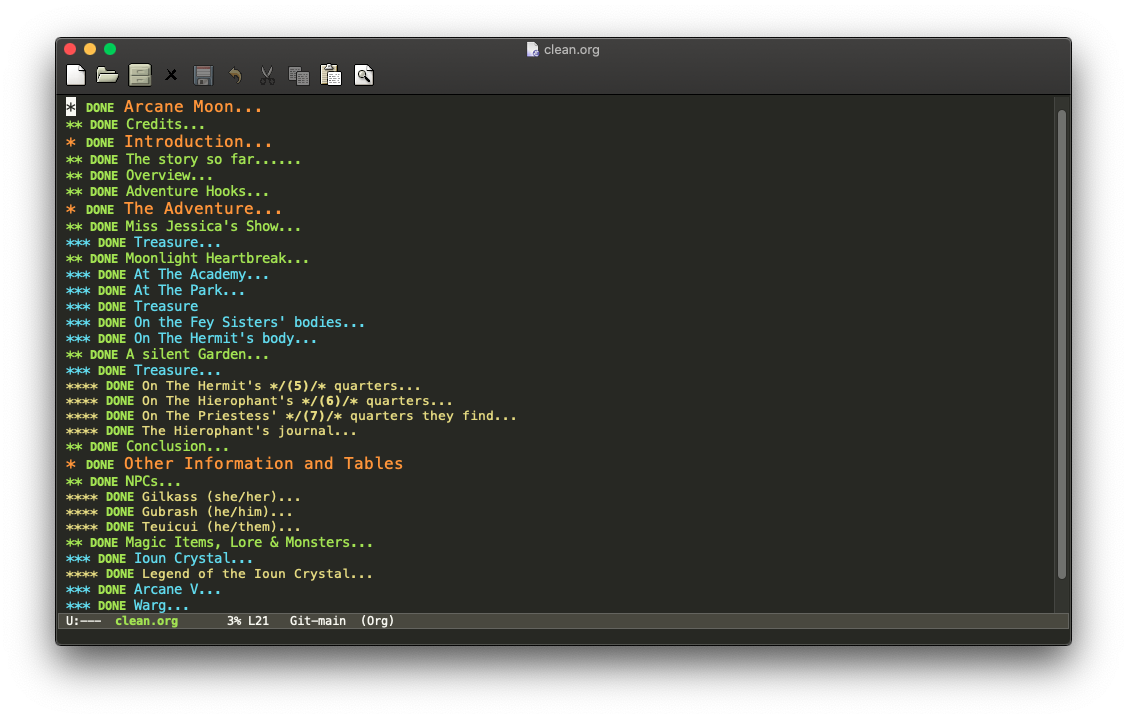 Arcane Moon on Emacs
Emacs, and more precisely org-mode was the central tool for everything. I used it to:
Outline my adventure
I began by adding sections I wanted to have. Arcane Moon is divided in the credits, the introduction, the adventure and additional information.
Schedule my tasks
Tracking when I wanted to get things done, scheduling and being aware of time constraints helps me to bring out the creative energy. Org-mode is amazing at scheduling using it’s agenda-mode.
You can add a deadline by using the command C-c C-d or a simple time stamp by using C-c .. After you can see your agenda with C-c a
Mark different states of completion
You can always mark things as DONE and TODO. But configuring other states of completition is very straight forward.
The basic ones were enough for me. I used them to keep track of the phase the project was in: at the start of drafting every heading was TODO, by the end they were DONE. At the start of proof reading everything was TODO by the end DONE
The main reason I used a plain text editor is not worrying about layout until I needed to worry about layout. I find thinking about typography and such to be distracting. I wouldn’t recommend using Word, Pages, or Google Docs for this reason.
But eventually I did had to worry about layout, and I needed to export to PDF. And I used Latex to achieve this.
Exporting to PDF
After you installing my preferred latex distribution exporting from org to PDF by using C-c C-e l p was mostly painless. However, the default export settings are lacking, to say the least.
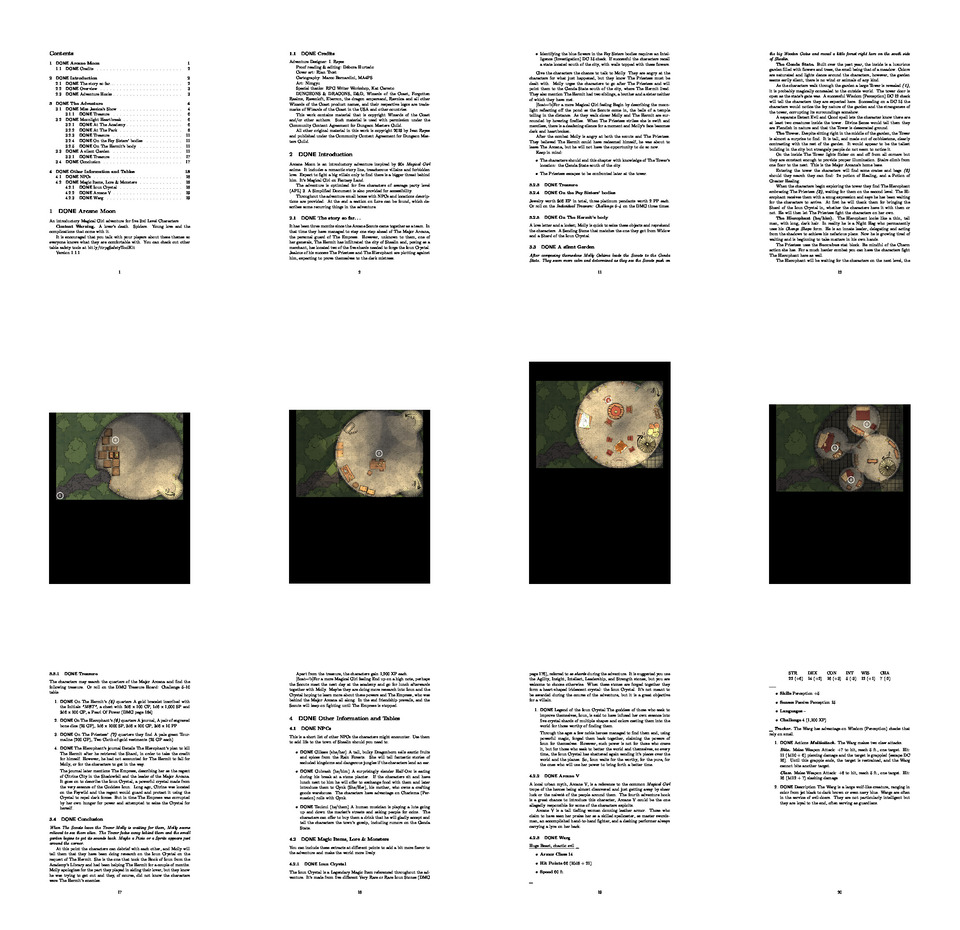 Exporting Adventure without a theme
For one, it looks nothing like a D&D book. So, I used the DnD 5e LaTeX Template from Brian Criswell. To configure org-mode to use it just add this to your .emacs file:
;; Latex D&D https://github.com/rpgtex/DND-5e-LaTeX-Template
(with-eval-after-load 'ox-latex
   (add-to-list 'org-latex-classes
                '("dndbook"
                  "\\documentclass{dndbook}"
                  ("\\part\{\%s}" . "\\part*\{\%s}")
            		  ("\\chapter\{\%s}" . "\\chapter*\{\%s}")
                  ("\\section\{\%s}" . "\\section*\{\%s}")
                  ("\\subsection\{\%s}" . "\\subsection*\{\%s}")
                  ("\\subsubsection\{\%s}" . "\\subsubsection*\{\%s}"))))
And then add this to the top of your work file on Emacs:
#+latex_class: dndbook
#+latex_class_options: [10pt,letterpaper,twocolumn,twoside,openany,nodeprecatedcode]
#+latex_header: \usepackage[english]{babel} \usepackage{titlesec}
#+latex_header_extra: \hypersetup{colorlinks=true, urlcolor=blue, linkcolor=blue, citecolor=red, PDFborder={0 0 0}}
#+latex_compi`ler: PDFlatex

#+OPTIONS: todo:nil
#+OPTIONS: toc:nil
#+OPTIONS: title:nil

#+title:
#+author:
#+email:
#+language: en
#+description:
#+keywords:
#+subtitle:
#+date: \today
Fill it as you see fit and then try exporting again with C-c C-e l p. Now it should look the way we want, like a proper D&D book!
Try and play commenting some of the lines you added to the .emacs file. If you remove the ("\\part\{\%s}" . "\\part*\{\%s}") then the top level of your tree will render as the chapter headings, and so on.
Other things you could do is use the helpers from the DnD 5e LaTeX Template, like DndComment, DndReadAloud and DndSidebar these will very easily add some asides, and boxes that we all know are useful.
You can learn more about these in the documentation, but that’s for Latex directly. To use them in Emacs try this:
#+BEGIN_DndComment
This will show up as a Dungeons & Dragons comment
#+END_DndComment
Capitalization is important! If you want to use other helpers you can use #+BEGIN_DndComment, #+BEGIN_ReadAloud or #+BEGIN_DndSidebar as you require.
The template also includes a DndMonster helper, which there’s not easy “org-way” to use. But you can embed LaTeX text directly on your document, so it’s still usable with out doing more.
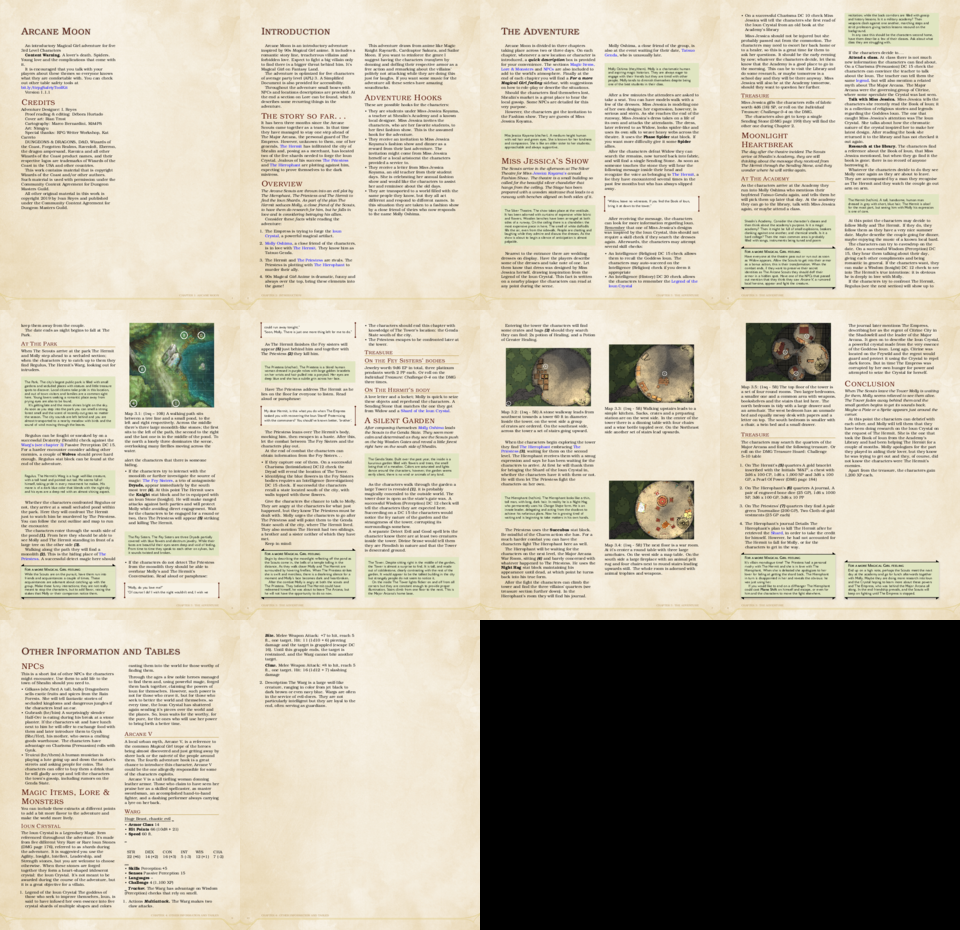 Full Adventure with the DnD 5e template
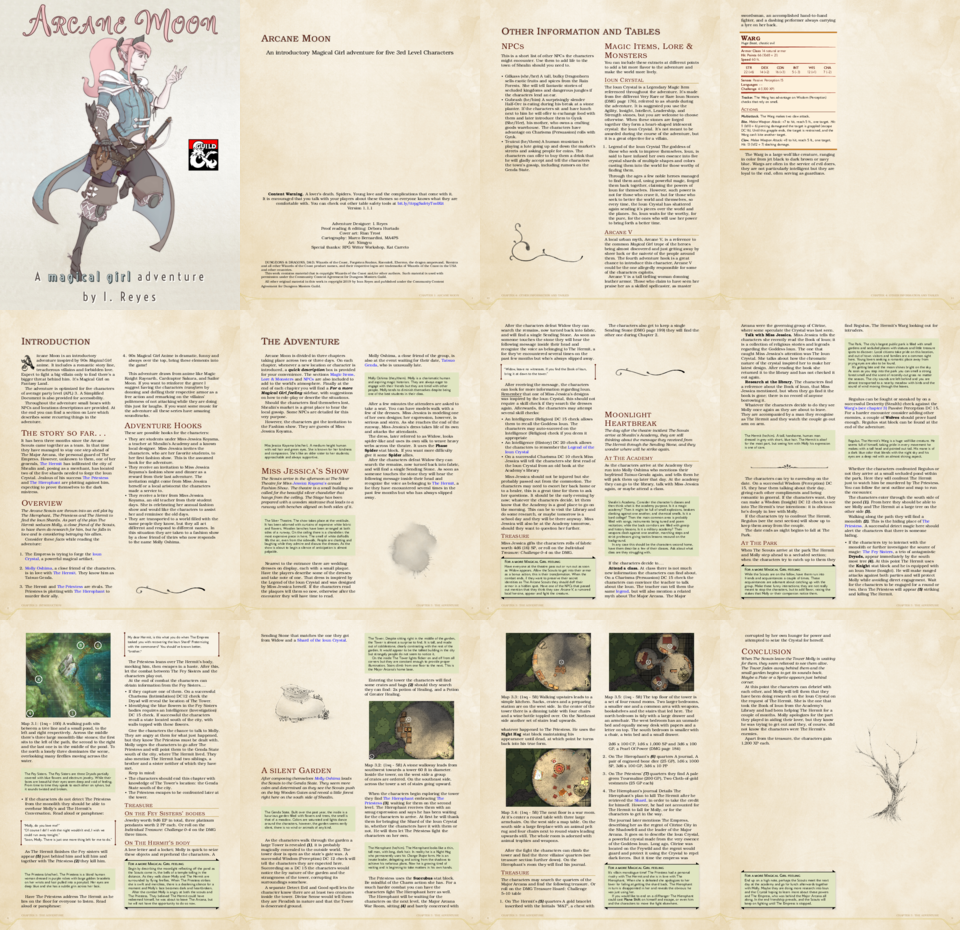
These is pretty much the configuration I used and you could leave it there. However if you want a proper adventure book with have art and a resonably decent layout keep on reading.
Adding a cover
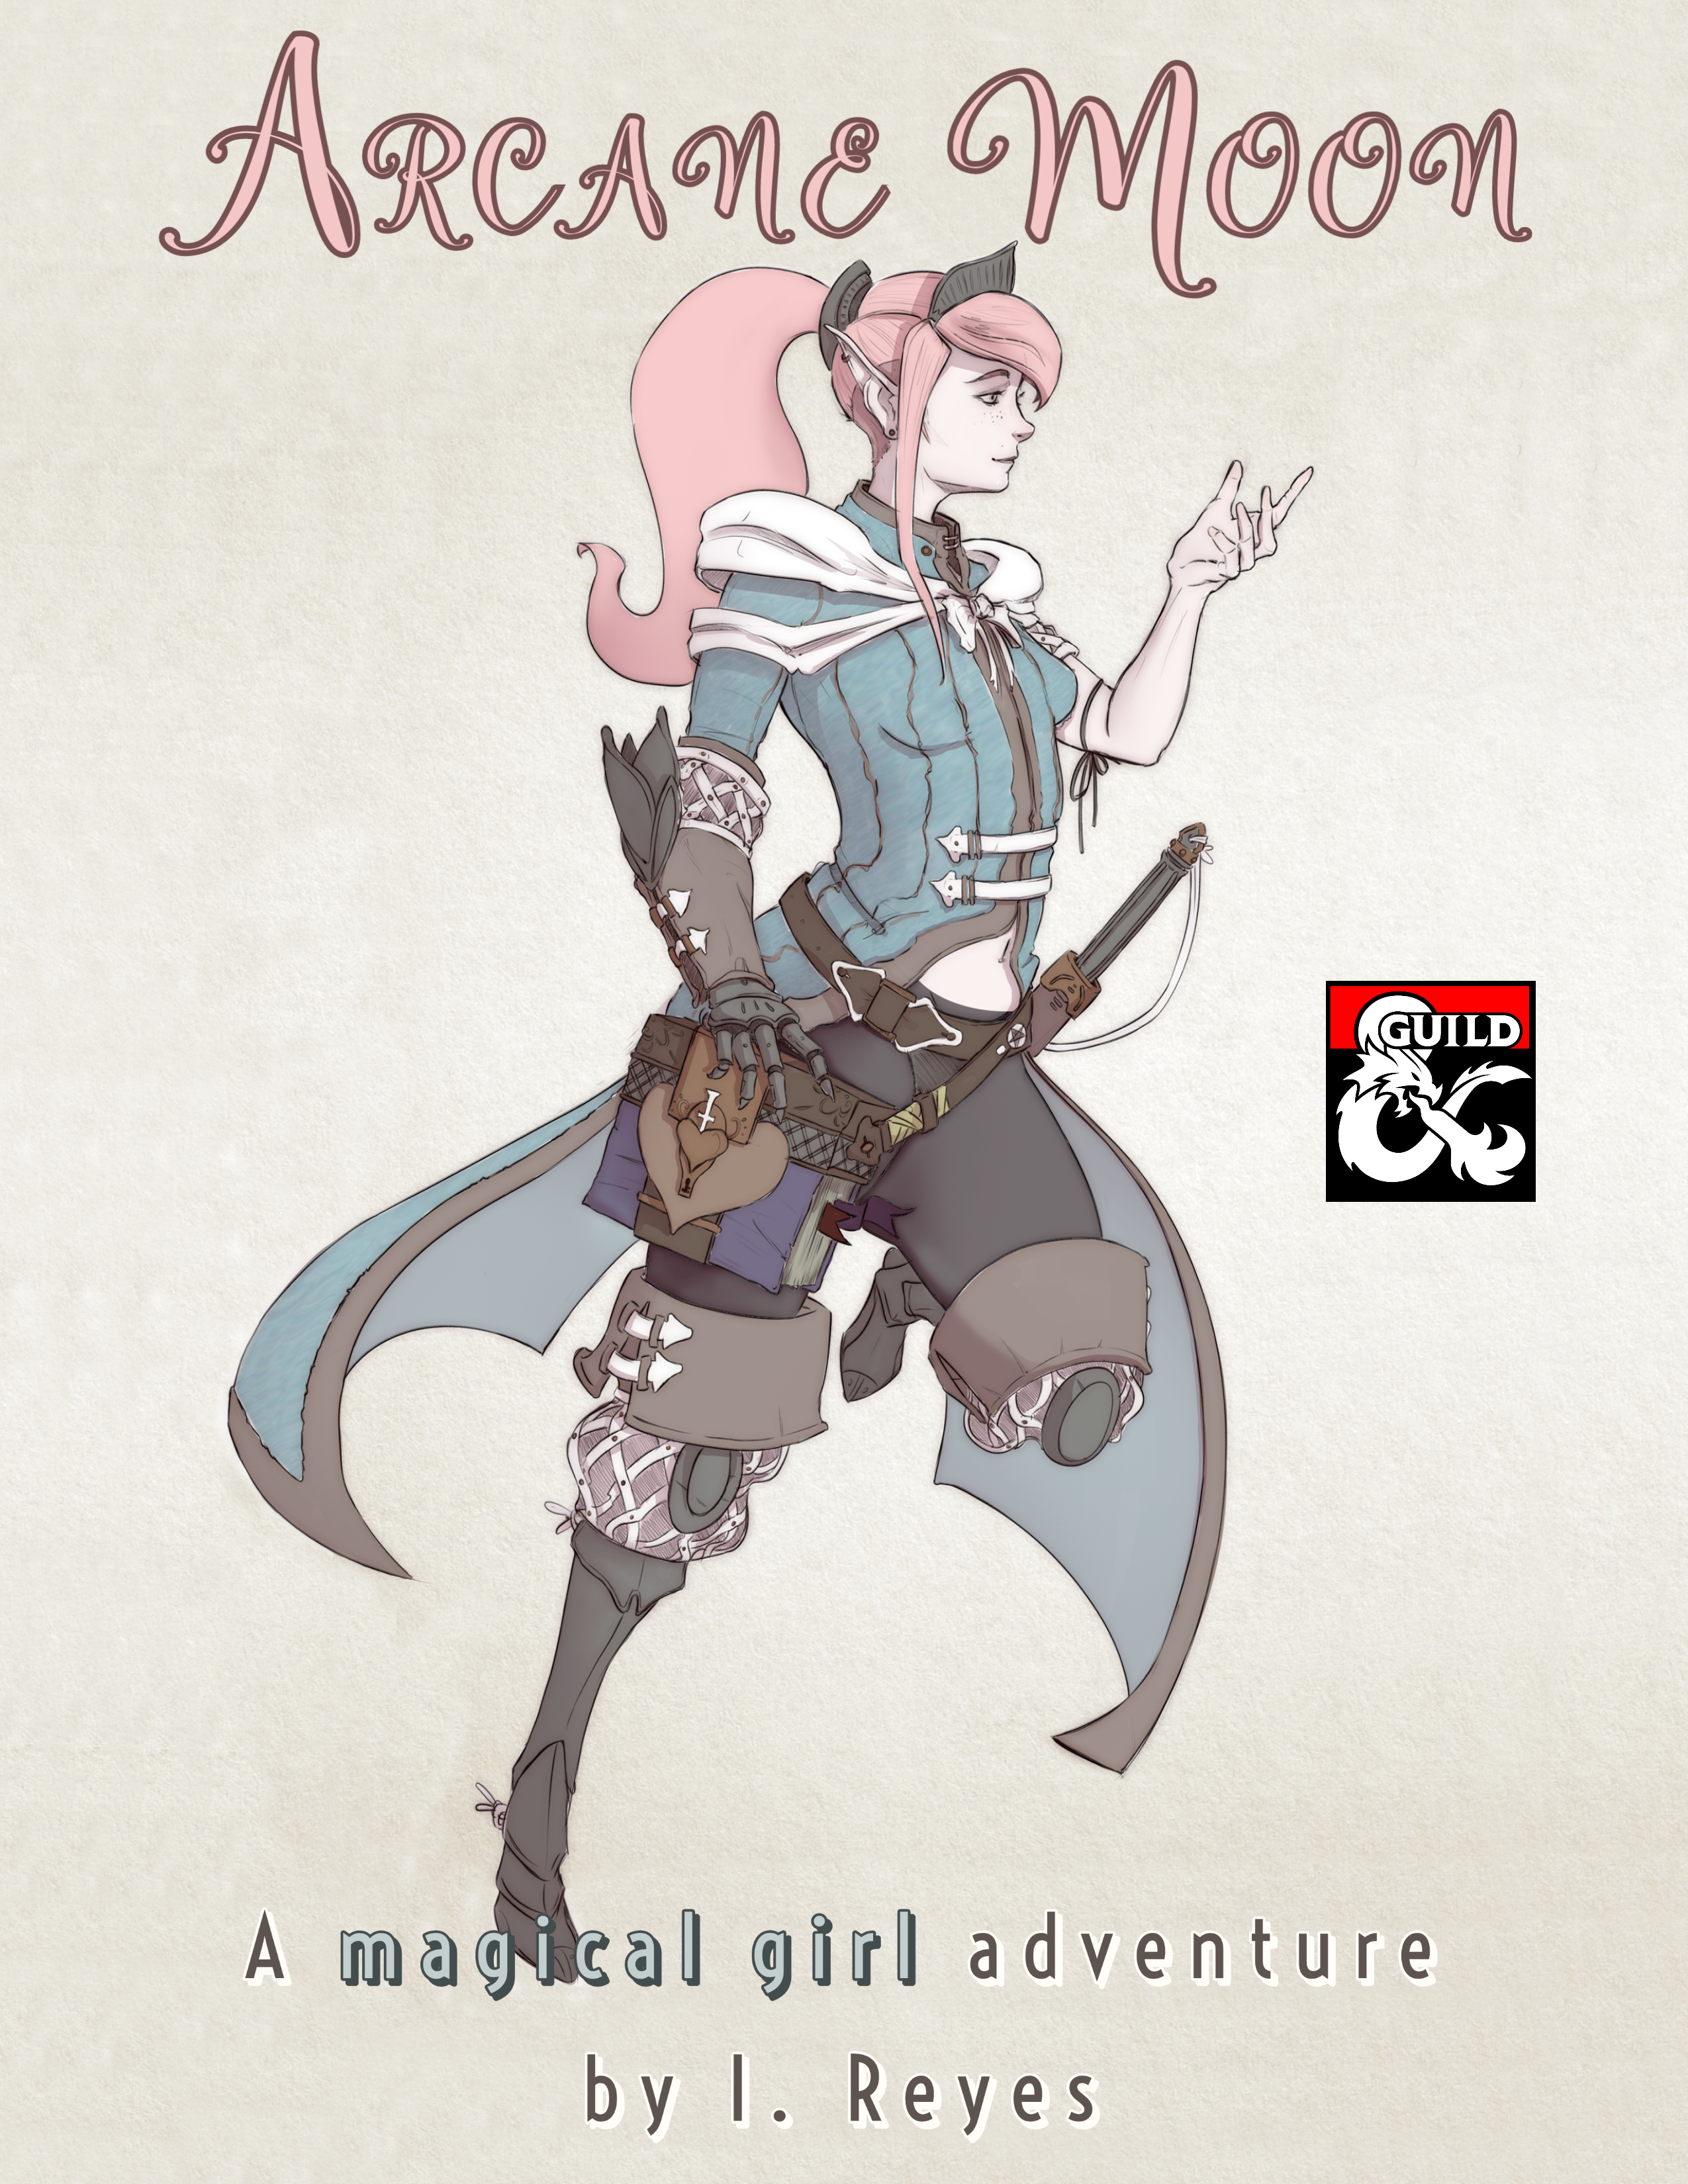
I made my cover using stock art by Rian Trost and Adobe Spark. Spark has templates, and pre configured sizes you can use for print and digital that will get you quickly to a decent cover. The other advantage is that you can resize and spark will redistribute for you; so I also use it for my social media posts, including this article’s cover.
Once I was satisfied with my cover I download it as a PNG file. And using macOS’ Preview I opened both the cover and the PDF export, then just dragged the cover thumbnail to your pdf export. Save and then I was done!
Adding maps
I used Dungeondraft to make my maps. And I think they came out pretty cool. Dungeondraft is a whole thing, but my recommendation is to get familiar with the “levels” and “layers” and understanding those are different things.
Be aware during export you can overlay two levels, but only two. In my case I did the grass and stone walk on one level, and for all subsequent levels I only did the tower floors; then I used the bottom layer and exported the other levels over. It’s confusing, but if you plan to make a layered dungeon you’ll save yourself a ton of work.
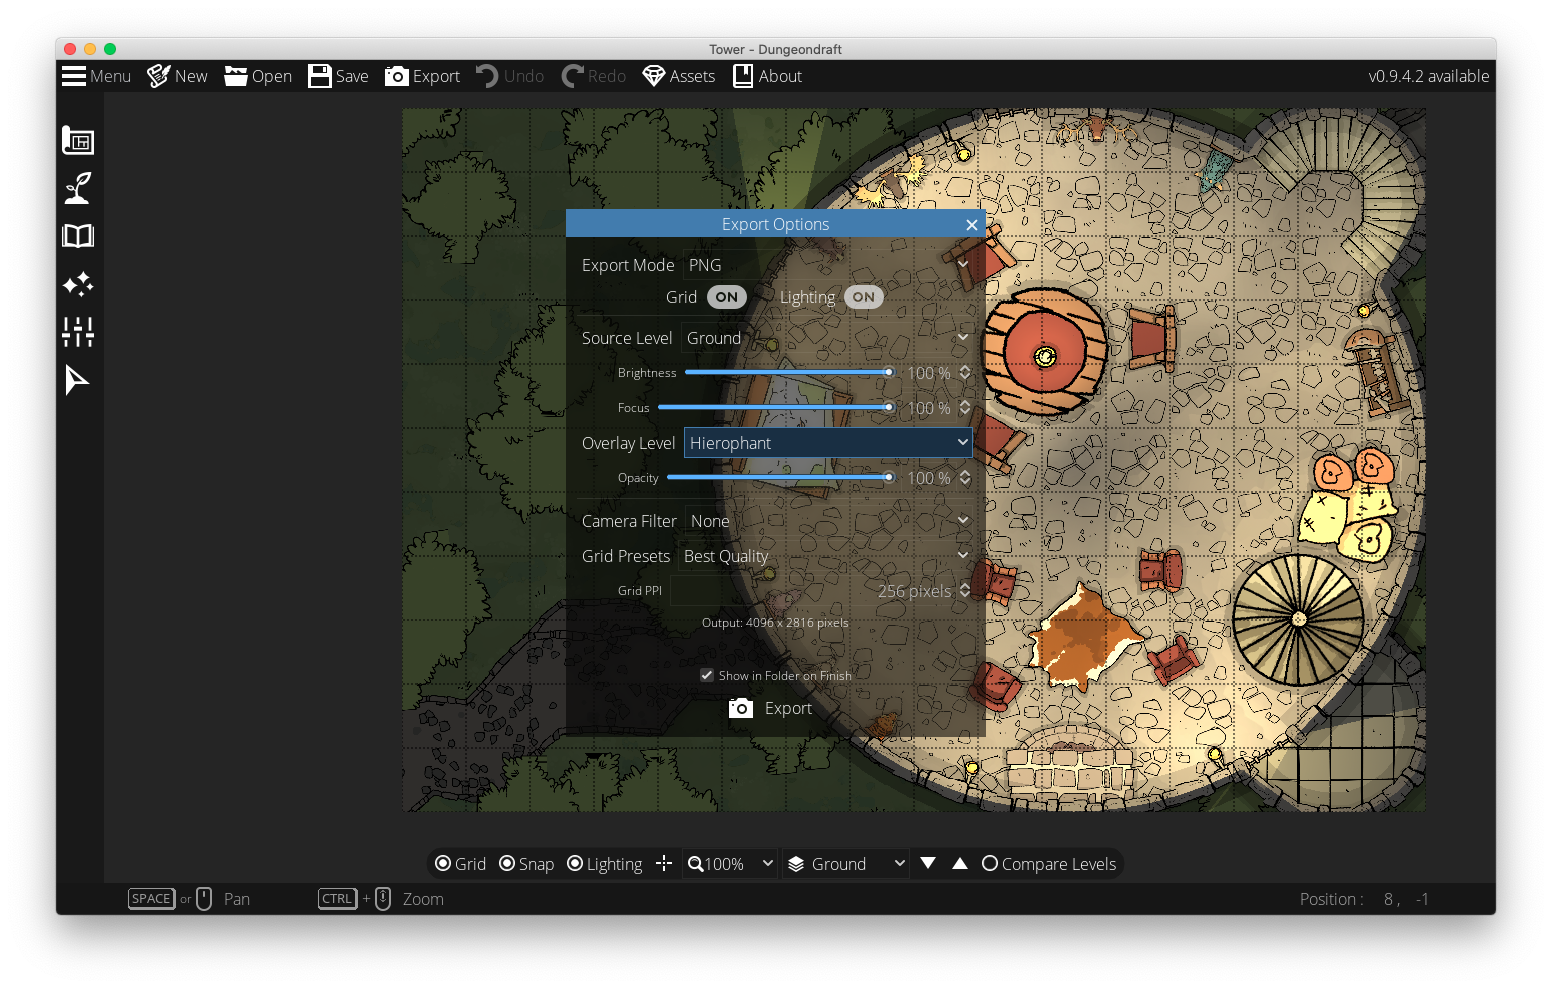 Exporting using Dungeondraft
After the export I used Krita to add some number markers to reference in my text and to resize as thumbnails; make sure to make copies of the original!
This should suffice to put the images in your org work file, and have them be a part of the PDF export. I used this snippet to add the maps to the adventure, but I could have also embed Latex if I needed more options.
#+CAPTION: your caption text
#+NAME: fig:C2E2
[[./maps/thumbs/C2E2_001.jpg]]
Notice you’ll have to use your own maps path, for me it was ./maps/thumbs for you will be different.
Finally if you are interested in Dungeondraft and cartography in general I recommend following @TheAbeilQueen on twitter.
Adding spot art
Another option to add art is editing the .tex file that the export is generating. This file is used as a step to get the final PDF and to edit it you need a Tex editor, which should be included with your LaTeX distribution; in my case it’s TeXShop.
In TeXShop I find the place I wanted the art to be placed at, then I used a similar snippet as this:
\begin{figure}[h]
\centering
\includegraphics[width=.9\linewidth]{./assets/accents/line1.png}
\end{figure}
The reason I did this on the .tex file instead of my org file is because I wanted more control over placing in the layout.
Again, make sure you have the right path to the image you want to include. In this example it’s ./assets/accents which was my spot art dir. Notice I’ve added a width=.9 so that it doesn’t occupy the same space as the text.
Finally notice the [h] it stands for “here”. So once you export to PDF the image will be paced roughly “there”. There are many options and you should try the ones that fit each need.
 The spot art for one of the corners
If you want to use the art to make a page break a simple hack is to tweak the width= parameter, a little bit more or less to force the text to break.
There’s plenty you can do editing the .tex file. You could even write your adventure directly here, but I don’t recommend doing that; it will quickly become cumbersome and unreadable without exporting.
Collaborating with a proof reader
This is hacky at best and not practical at worst, so I don’t really recommend doing it like this, but it did work for me, so it might work for you.
I exported my file to ODT from emacs with C-c C-e o o which produces an ODT I then uploaded to Google Drive to edit with Google Docs. My editor uses comments and the suggestion mode, and on my side I manually kept the org file up to date so I didn’t had to re-upload the file.
As I said it’s hacky at best, but it did work for me.
Thank you for reading this post! It’s my first english post but I think it was worth it to talk about the tools I used to bring Arcane Moon to life.
I normally write in Spanish, and if you do read Spanish you can check my post on a mathematical analysis of the Bag of Holding. Or how we play D&D online or my first two sessions on solo Ironsworn.
– Anya Reyes
